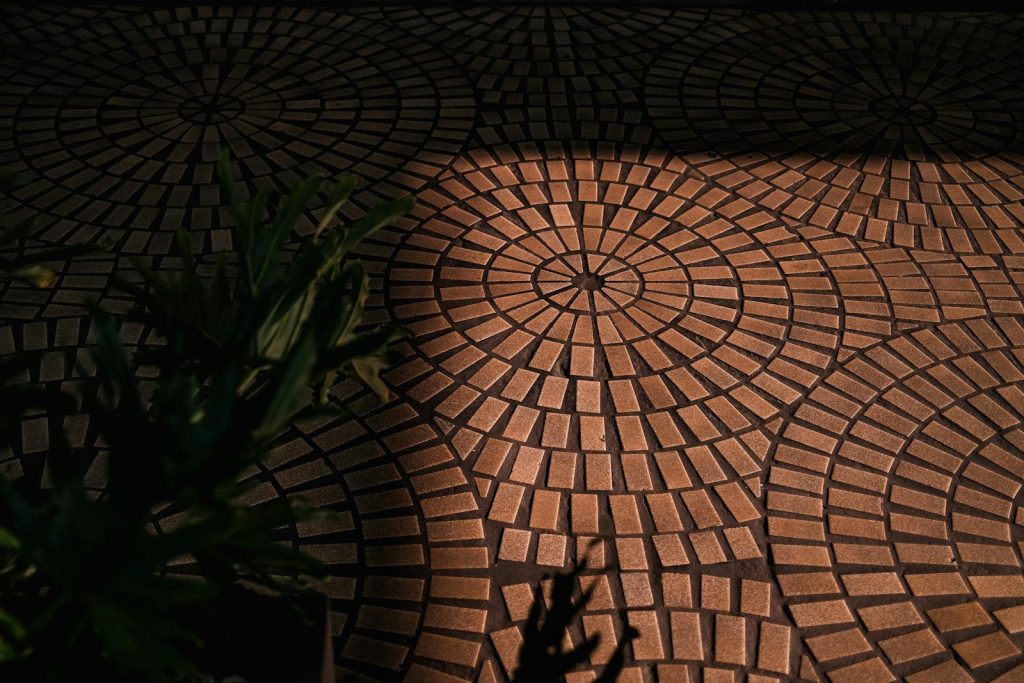
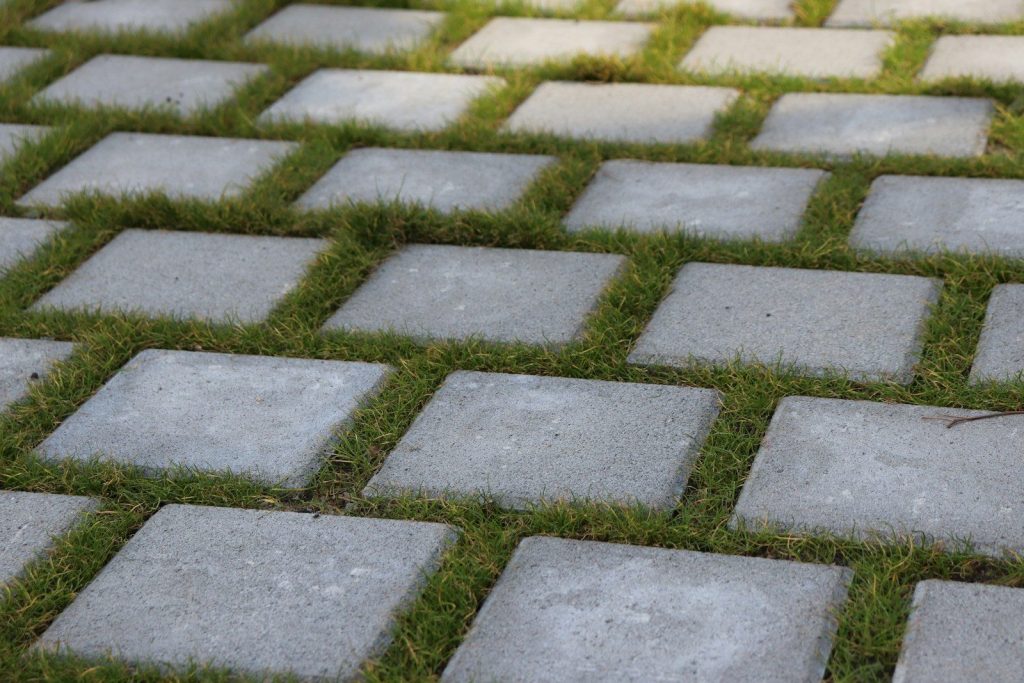
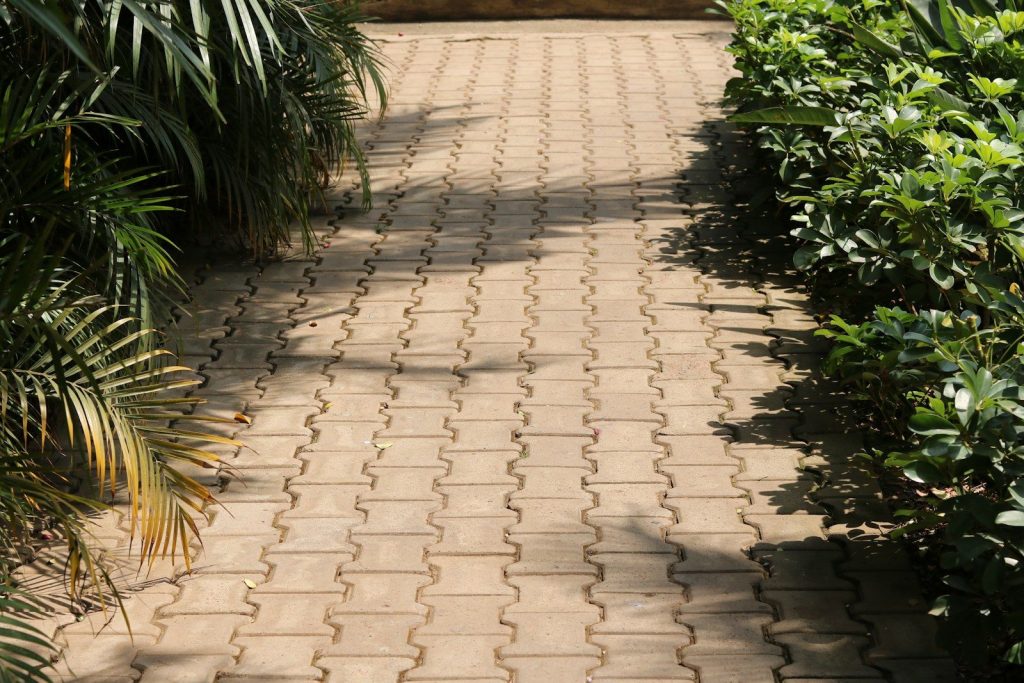
Patio pavers are built to last, but the gaps between them are prime territory for weeds, moss, and creeping grass. Dirt, debris, and windblown seeds settle into the joints over time. Once roots take hold, they act like tiny wedges, slowly widening the gaps and pushing pavers out of alignment.
Homeowners now have more options than ever for tackling this problem, from time-tested physical barriers to newer polymeric compounds and low-VOC chemical treatments. Whether your patio is brand new or a decade old, there is a solution that fits.
1. Polymeric Sand
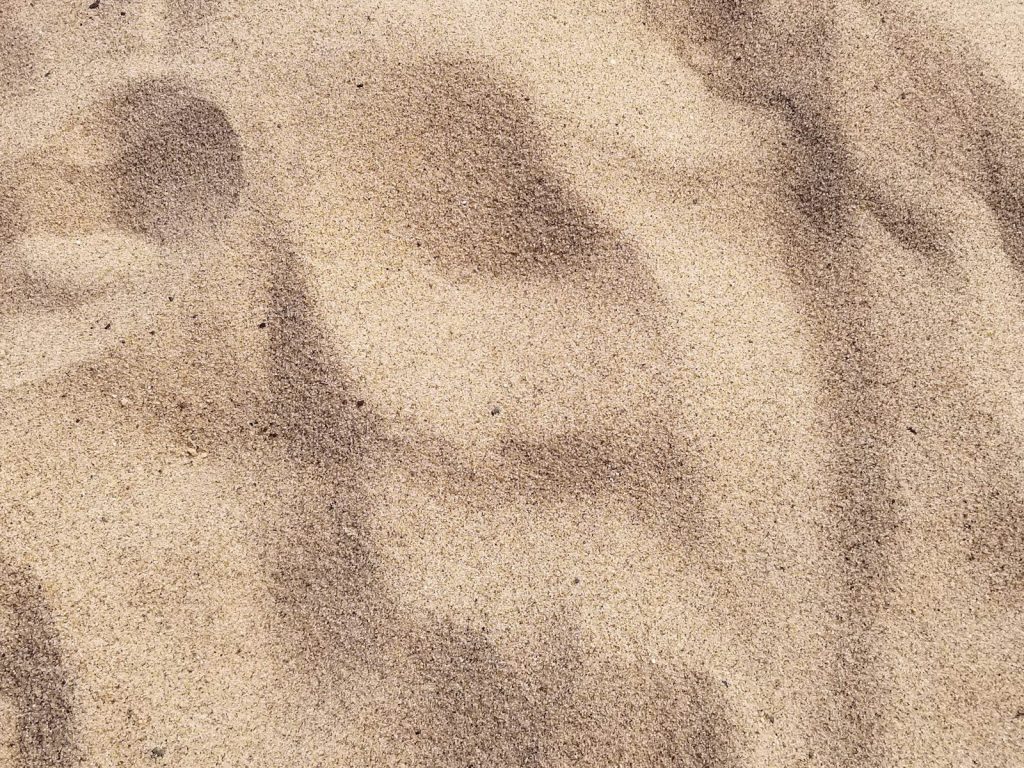
For anyone building or rebuilding a patio, polymeric sand is the most effective long-term defense against joint growth. It contains fine silica particles mixed with binding agents that activate when wet, hardening into a firm, locked joint that leaves very little room for anything to take root.
Newer-generation polymeric sands available in 2026 cure faster, resist washout better, and come in a wider range of colors to complement natural stone, concrete, or brick pavers. Apply on a dry day, sweep the sand into the joints, then mist carefully. Too much water applied too quickly will wash the material out before it sets. Plan on re-applying every five to eight years.
2. Landscape Fabric Underlayer
Prevention starts below the surface. Installing a high-quality landscape fabric beneath the base layer of a new patio creates a physical barrier that blocks grass and weeds from pushing up through the sub-base.
Skip the thin, inexpensive options. They break down quickly and can trap moisture in ways that encourage root growth around their edges. A non-woven, needle-punched geotextile fabric rated for heavy-duty outdoor use allows water to drain through freely without letting roots penetrate. Overlap seams by at least six inches and pair the fabric with polymeric sand for the most complete protection.
3. Boiling Water
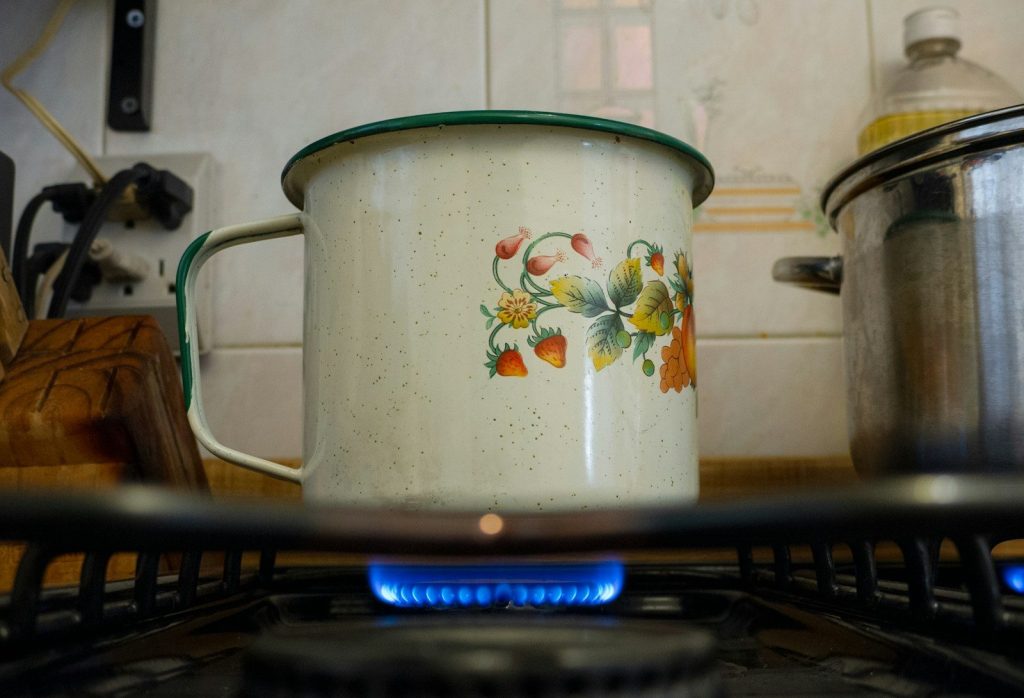
Pouring boiling water directly onto grass and weeds growing in paver joints is a chemical-free removal method that works better than most people expect. The heat destroys plant cells on contact, wilting and killing growth within a day or two.
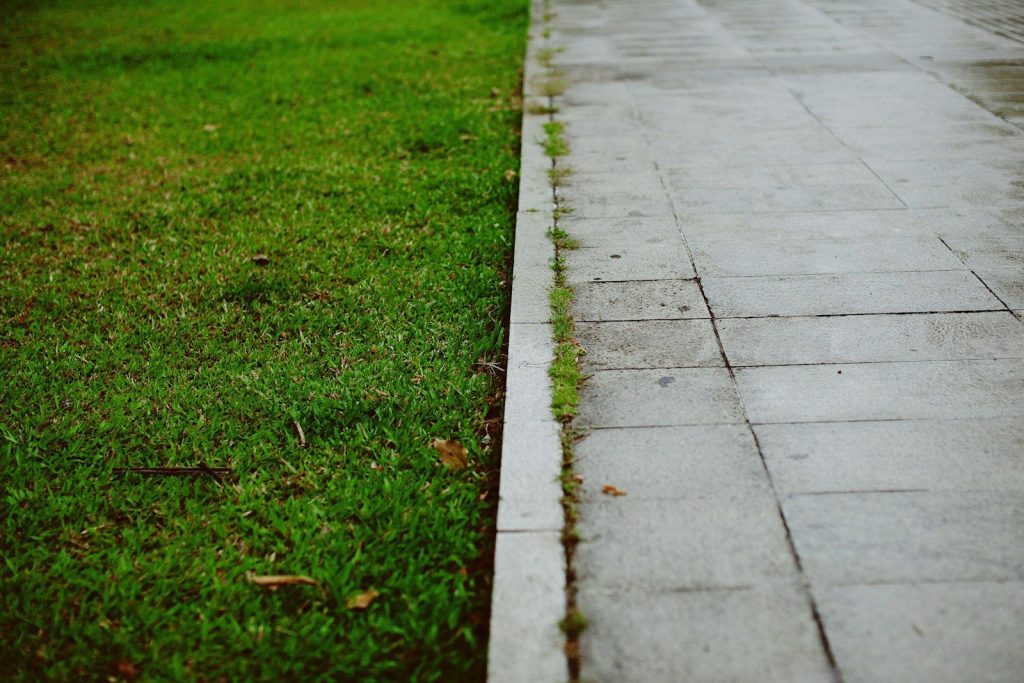
Walking the patio with a kettle once every week or two during peak growing season keeps joint growth under control without any herbicide. Take care near the patio border. Boiling water does not distinguish between plants, and any desirable lawn grass or ornamentals nearby will be damaged if the water reaches them.
4. White Vinegar Solution
Horticultural vinegar at 20 to 30 percent acetic acid concentration is a reliable natural herbicide for patio joints. The acetic acid draws moisture out of plant tissue, burning growth down without leaving synthetic residues behind.
Standard kitchen vinegar at five percent works on young, tender growth but struggles with anything established. Apply on a sunny, dry day, since rain within a few hours will dilute the solution before it takes effect. Add a few drops of dish soap to help the solution adhere to waxy leaf surfaces, and use a squeeze bottle for precise joint coverage. Wear gloves, as horticultural-strength vinegar can irritate skin.
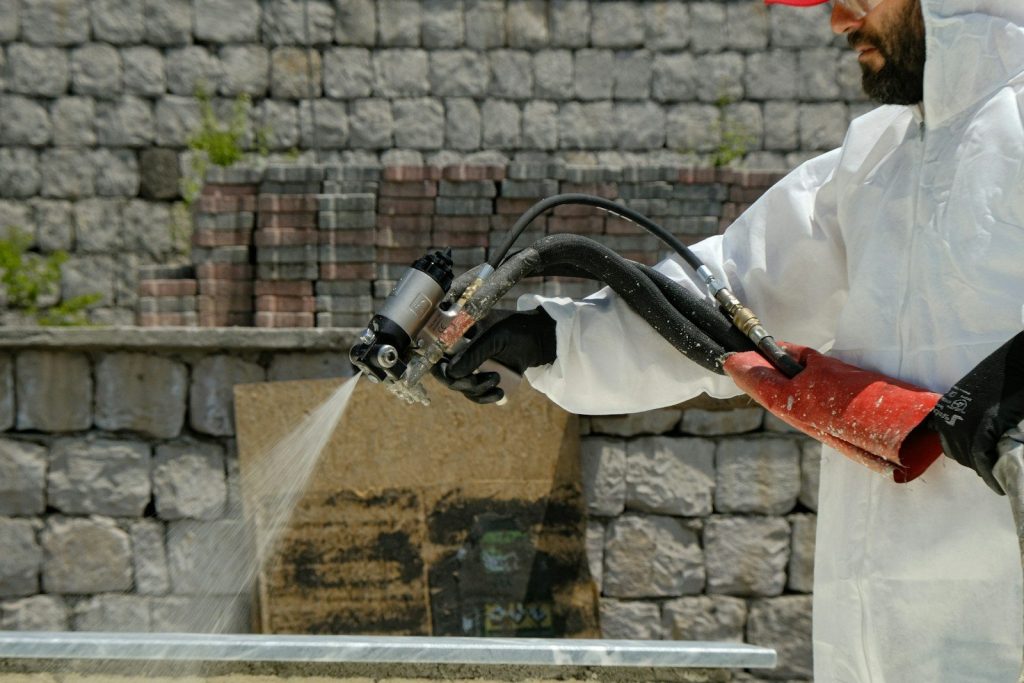
5. Targeted Herbicide
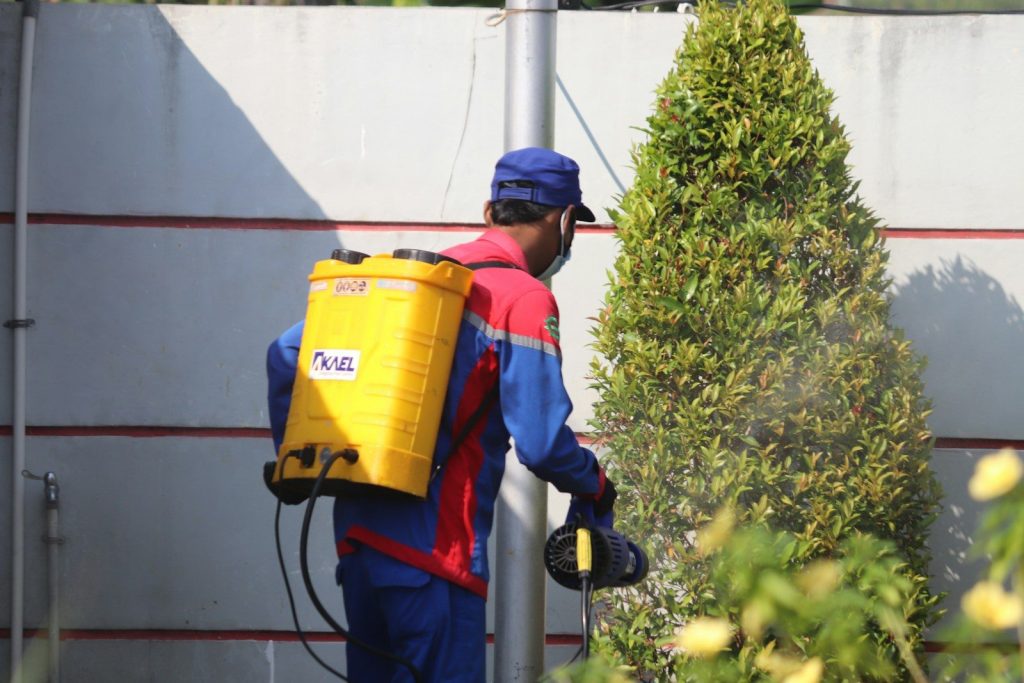
When natural methods cannot keep up with aggressive growth, a targeted herbicide resets the situation quickly. The goal is precise joint treatment, not a broad application across the surrounding lawn or garden beds.
Newer active ingredients such as pelargonic acid and iron-based herbicides like Iron HEDTA break down faster in the soil and carry a lower ecological footprint than older options, producing strong results on both grass and broadleaf weeds. Use a narrow-tip applicator bottle to limit contact to the joint area and avoid drift onto adjacent plants.
6. Manual Removal Plus Joint Sealer
Clearing joints by hand gives a clean slate. A stiff wire brush handles light growth, and a patio knife or oscillating multi-tool works on more stubborn material. Once the joints are clear and fully dry, apply a paver joint sealer or penetrating masonry sealant to close off the gap.
Sealers harden the surface layer of the joint, making it difficult for seeds to find purchase. Many also protect the pavers from staining caused by leaves, moss, and algae. Most sealers need re-application every two to four years depending on foot traffic and climate.
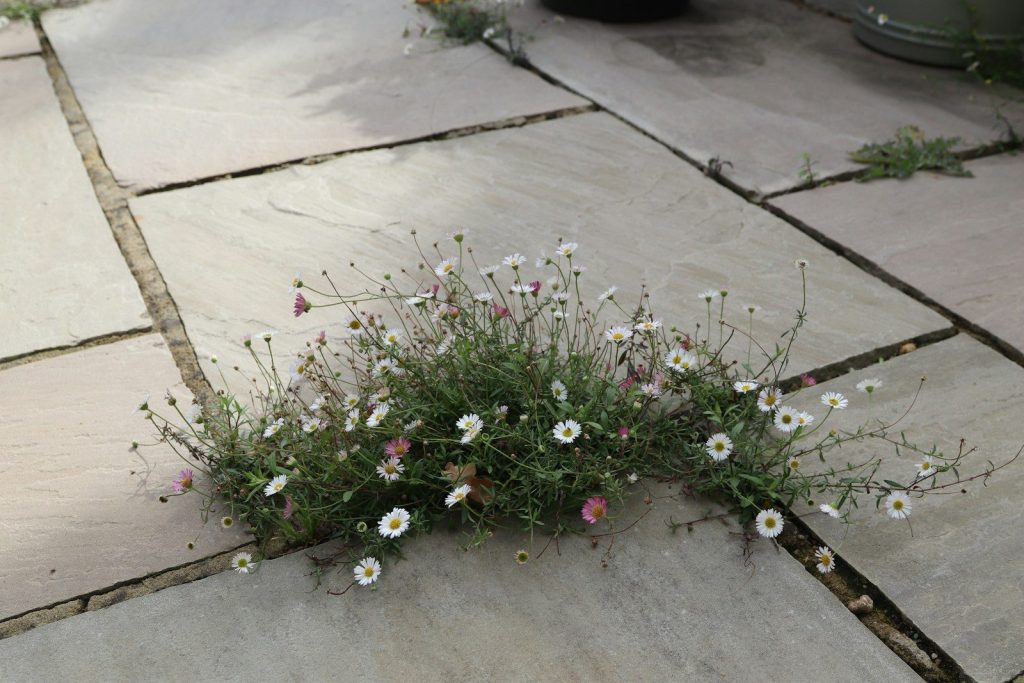
7. Ground Cover Planting
Deliberately planting a low-growing, spreading ground cover fills the joints on your terms. Occupied joints leave no room for unwanted grass or weeds to establish.
Popular choices include creeping thyme, Irish moss, blue star creeper, and Corsican mint. These plants stay flat, tolerate light foot traffic, and many produce small flowers that add visual interest to the patio surface. This method works best in joints wider than half an inch and in climates with moderate rainfall.
The Right Fix for Your Patio
The best approach depends on the patio’s age, construction, climate, and available maintenance time.
For a new build, landscape fabric paired with polymeric sand sets up years of low-maintenance joints. For light growth on an existing patio, boiling water or vinegar applied consistently handles the problem without chemicals. For an established invasion, manual clearing followed by a joint sealer or targeted herbicide resets things. For wide joints with a decorative intent, creeping thyme or Irish moss turns a recurring chore into a design feature.
Consistency is the factor that determines long-term results. A patio checked every couple of weeks, with sprouts pulled before they root deeply, stays in great shape with minimal effort. Staying ahead of the growth keeps the pavers looking sharp for years to come.
Early Action
Grass between pavers is one of those problems that rewards early action.
A small amount of regular attention, whether that means a kettle of boiling water, a pass with a brush, or a fresh layer of polymeric sand every few years, costs far less time and money than dealing with a patio that has shifted, cracked, or fully come apart.