Most home repairs look complicated until someone explains what’s actually happening. A squeaky floor, a running toilet, a door that won’t close right, these aren’t signs of a failing house. They’re normal wear, and nearly all of them are fixable in an afternoon with basic tools and a $10 part.
Knowing how to handle them saves money and builds the kind of confidence that makes homeownership a lot less stressful.
1. The Leaky Faucet Fix That Saves You a Plumber Visit

A dripping faucet isn’t just annoying. Over the course of a year, a single faucet dripping once per second wastes more than 3,000 gallons of water, according to the EPA. Most of the time, the culprit is a worn-out washer or O-ring inside the handle assembly.
Shut off the water supply under the sink, pull the handle, and swap out the old washer for a matching replacement from any hardware store. The whole job takes about 20 minutes and costs under $5. Calling a plumber for the same task typically runs $100 to $150.
2. Patching Drywall Without It Looking Patched

Small holes from anchors or doorknobs are easy to hide if the process is done in stages. Apply lightweight spackle, let it dry completely, sand it flush, then prime before painting. The priming step is the one most people skip, and it’s why patches stay visible.
Unprimed spackle absorbs paint differently than the surrounding wall, leaving a dull spot that shows up in certain lighting. A small can of spray primer costs around $6 and eliminates that problem entirely.
3. Silencing a Squeaky Floor

Squeaky floors are almost always caused by subfloor panels rubbing against the joists below. From above, the fix is simple: drive a 2-inch screw through the finished floor and into the joist at an angle. If the floor is hardwood, pre-drill to avoid splitting.
For squeaks in carpeted areas, there are specialty tools like the Squeeeeek No More kit that let screws break off below the surface so the carpet hides everything. Takes about 10 minutes per squeak.
4. Fixing a Running Toilet
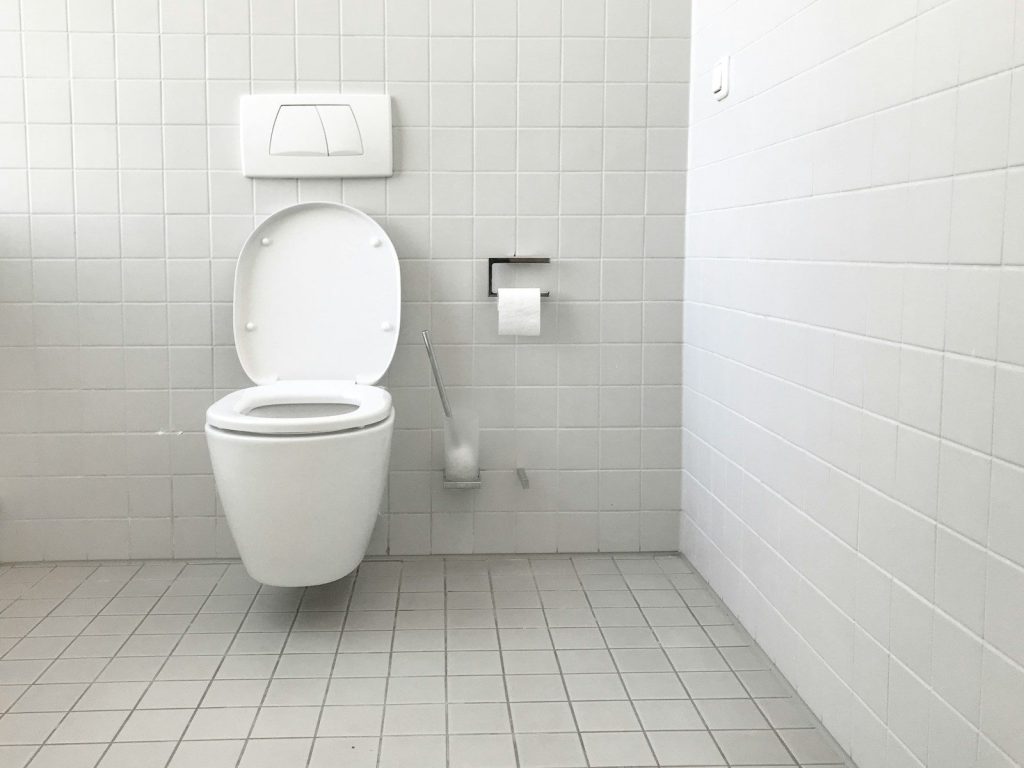
Most running toilets come down to three parts: the flapper, the fill valve, or the float. Lift the tank lid and watch what happens after a flush. If water keeps trickling into the bowl, the flapper isn’t sealing properly.
Flappers cost $5 to $10 at any hardware store and take five minutes to replace. If the water level is too high and spilling into the overflow tube, adjust the float arm downward. These two fixes cover about 90% of running toilet cases.
5. Caulking Around Tubs and Showers
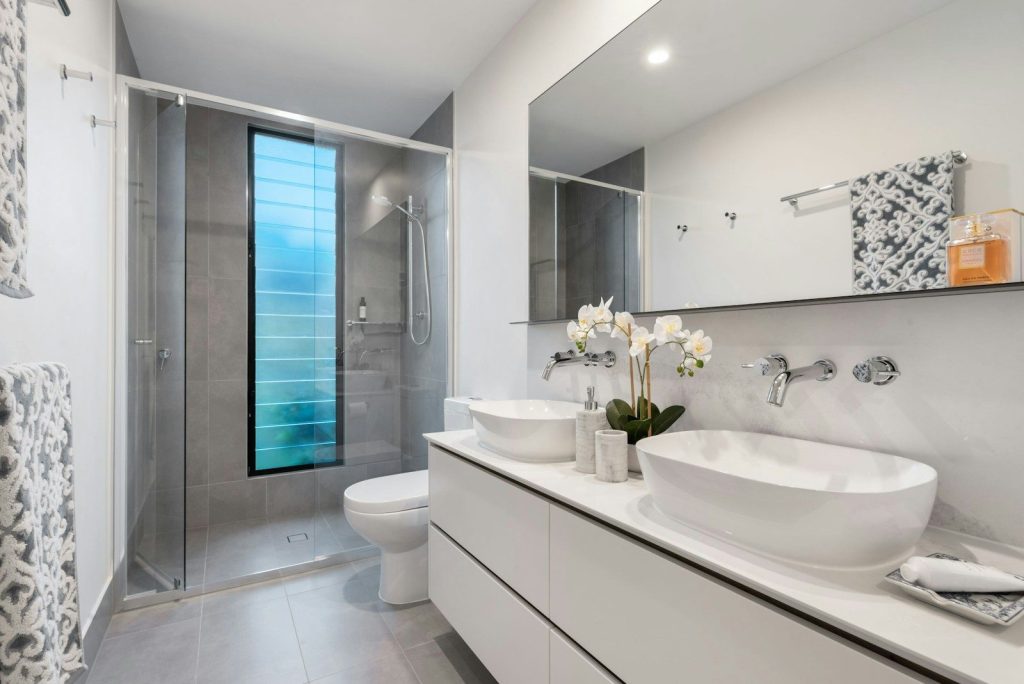
Old, cracked caulk around a tub is an open invitation for water damage inside the wall. Removing it cleanly is the harder part of the job. Use a caulk remover tool or a utility knife to cut it away, then clean the gap with rubbing alcohol before applying new caulk.
Silicone caulk holds up better in wet areas than latex-based varieties. Smooth it with a wet finger before it skins over. Properly done, a fresh caulk line lasts five to seven years.
6. Unclogging a Drain Without Chemicals
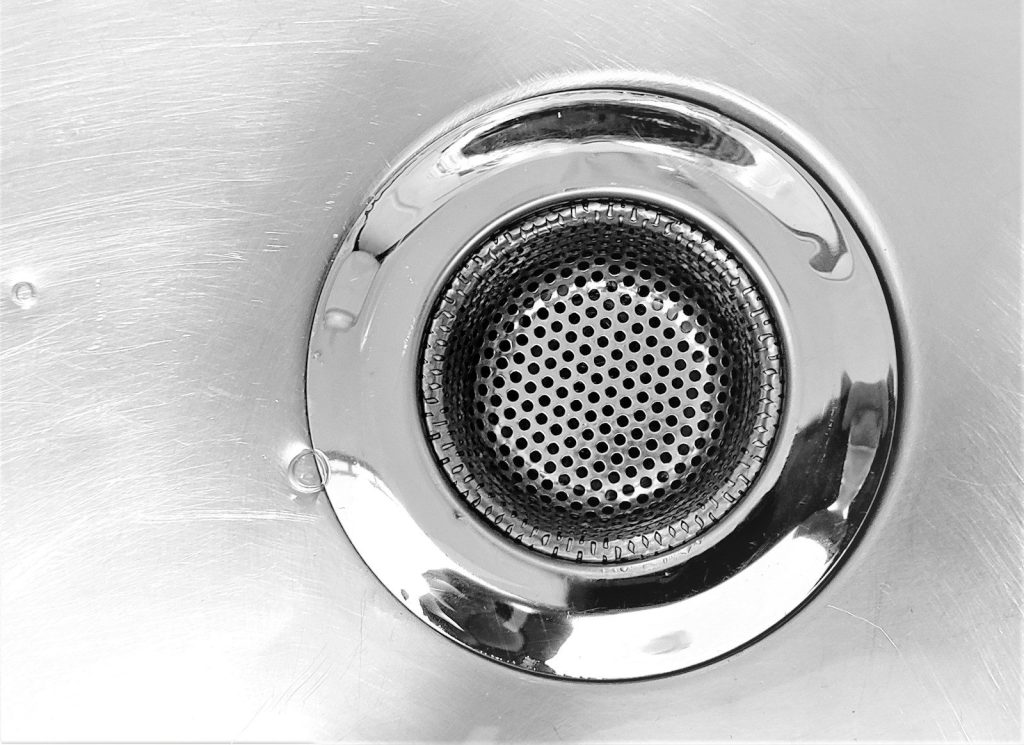
Chemical drain cleaners like Drano work on soft clogs, but they can degrade older pipes over time with repeated use. A better first move is a drain snake, also called a hand auger.
Feed it down past the P-trap and rotate it until it catches the clog, then pull it out. For bathroom sinks, the blockage is almost always hair packed around the stopper mechanism, which can usually be pulled out by hand once the stopper is removed.
7. Repairing a Stuck or Misaligned Door
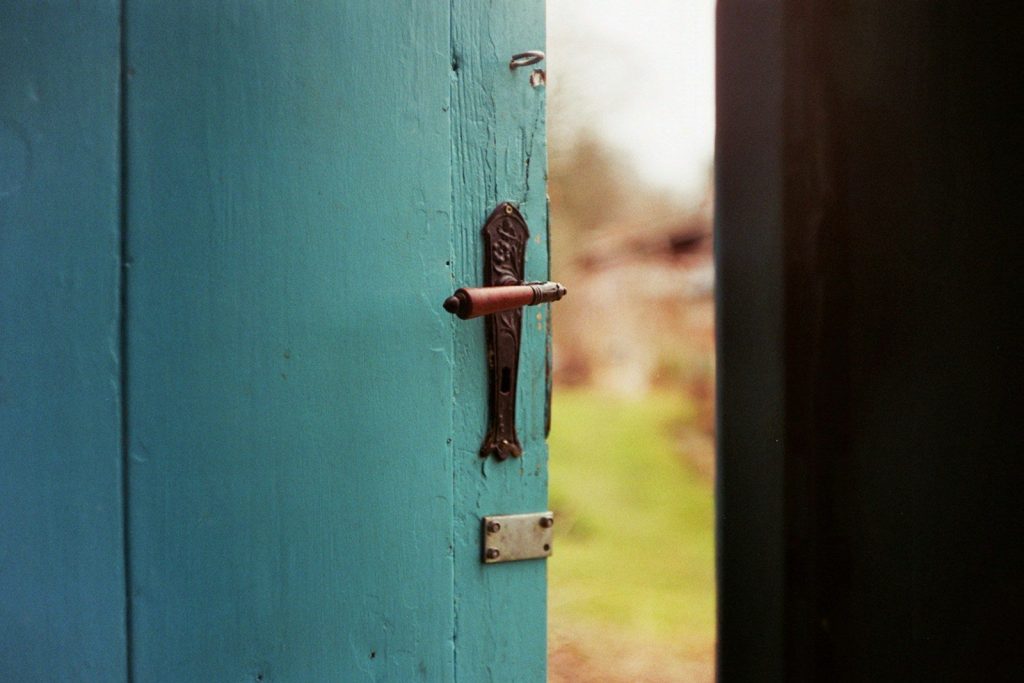
Doors swell in humidity and bind against the frame, which is a common problem in older homes. Before reaching for a planer, check the hinges first. Loose hinge screws are the cause more often than actual wood swelling.
Tighten them, or if the holes are stripped, fill them with wooden toothpicks and wood glue, let them dry, then re-drive the screws. That alone fixes a surprising number of sticking doors without removing the door from the frame.
8. Replacing a Broken Outlet or Switch
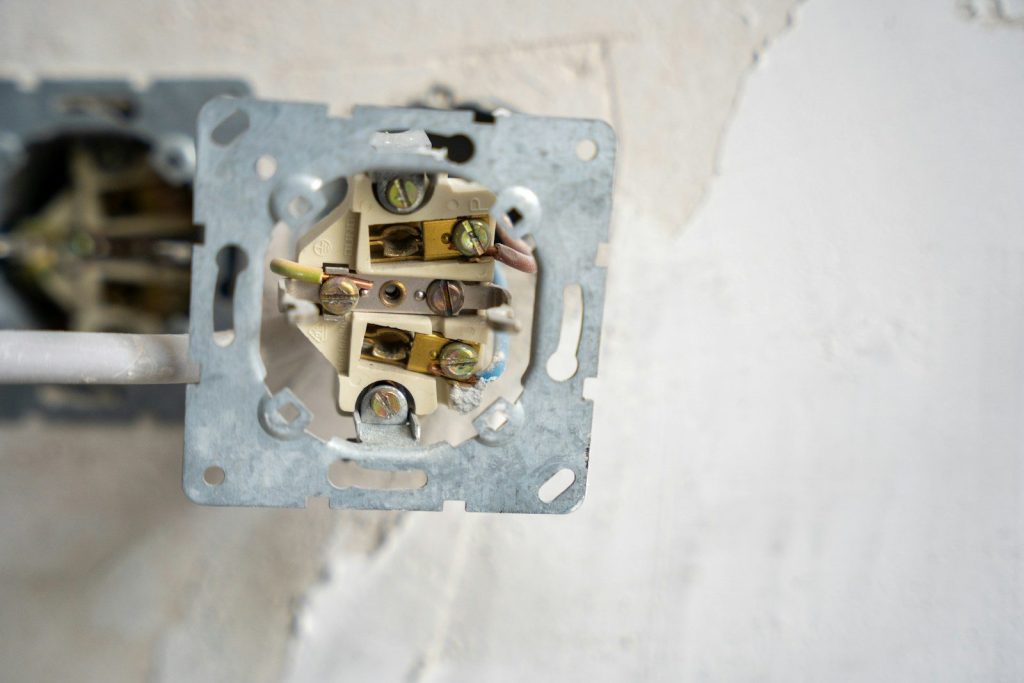
Replacing a standard outlet or light switch is one of the more approachable electrical tasks a homeowner can take on. Turn off the breaker, confirm the power is off with a non-contact voltage tester, then unscrew the old device and match the wire connections on the new one.
Most outlets and switches use the same terminal positions. A replacement outlet costs around $3. The voltage tester, a one-time purchase, runs about $15 and is worth keeping in every tool drawer.
9. Sealing Air Leaks Around Windows and Doors

The U.S. Department of Energy estimates that air leaks account for 25 to 40 percent of heating and cooling energy loss in most homes. Weatherstripping along door frames wears out and compresses over time.
Replacing it takes about 30 minutes per door and costs $10 to $20 in materials. For windows, a bead of paintable caulk along the interior trim where it meets the wall handles most of the small gaps. Neither task requires tools beyond a utility knife and a caulk gun.